Sunday, 20 April 2014

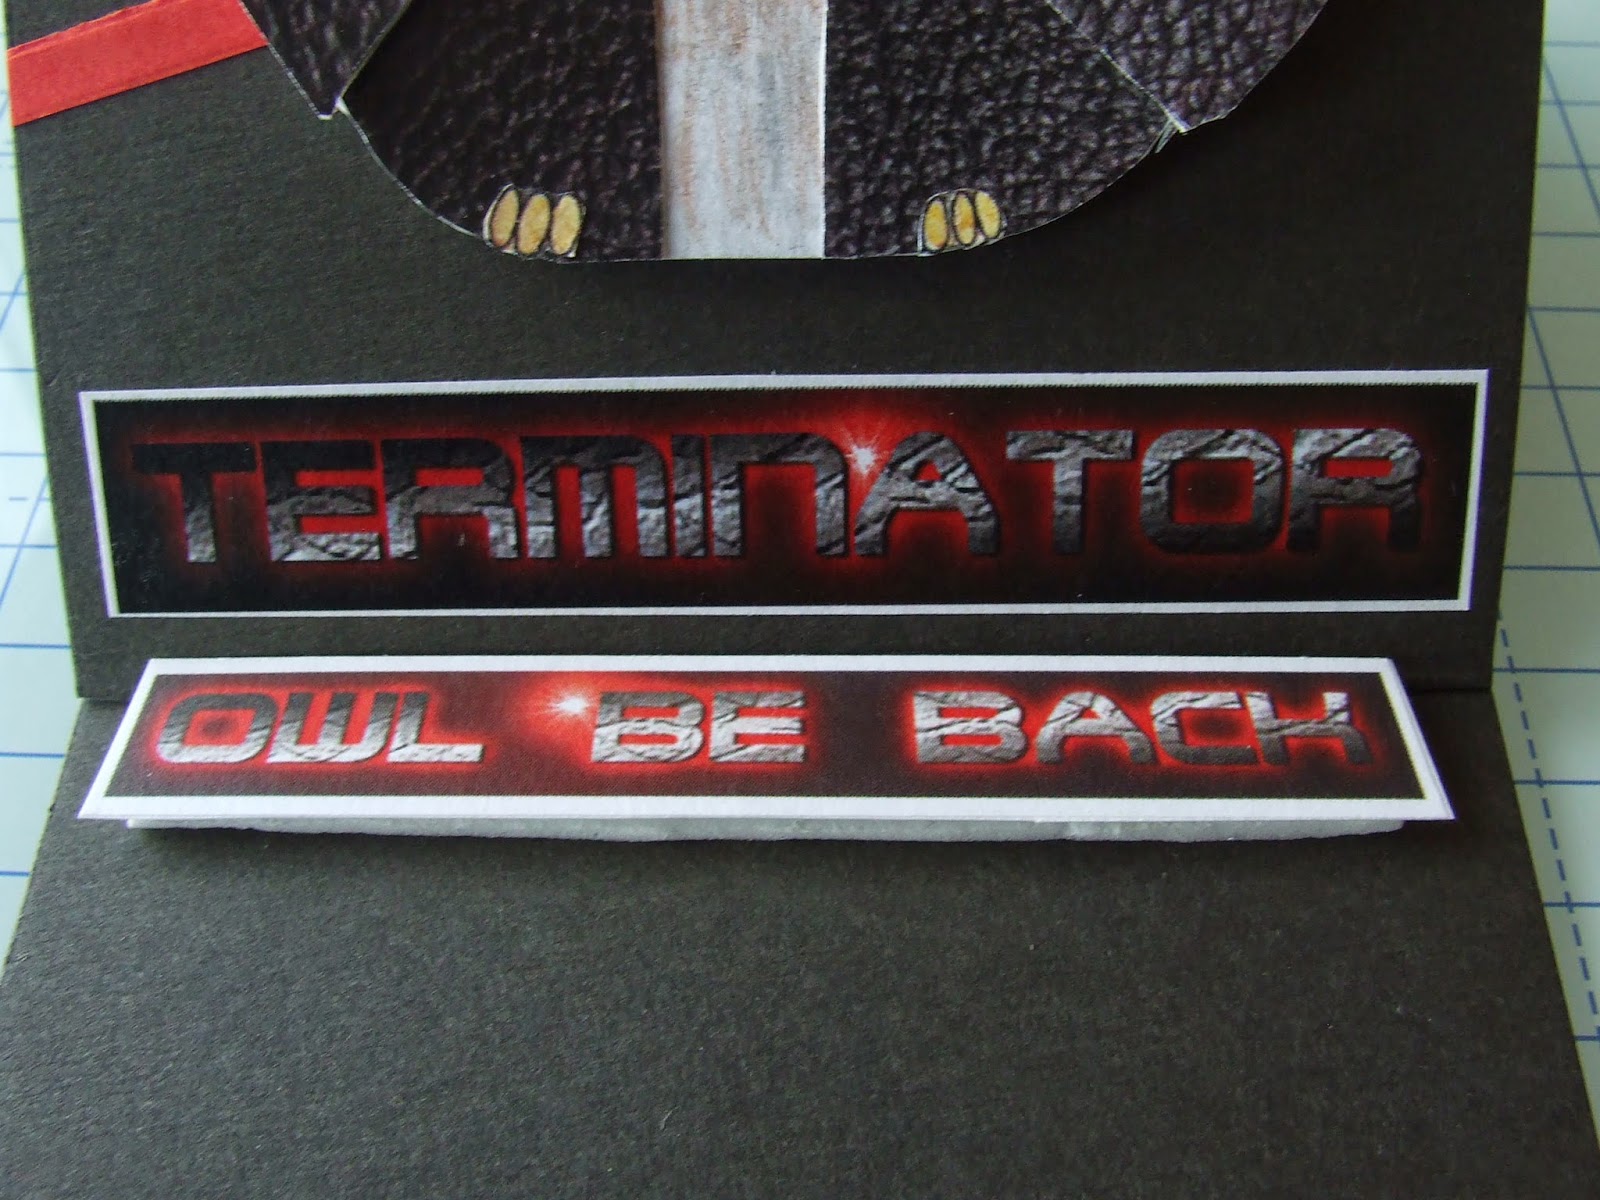
Its OWL about attitude


 Originally this was supposed to be part of a challenge but for a variety of reasons it never made it that far. Still I thought as it was a little different that I'd like to share it with you anyway .

I  know owls are very popular at the moment, so took this Bestie image, one that might be more associated with pink, girly and pretty - I changed it into something a bit more masculine, darker and hopefully fun. I purposely did this to show the versatility of the digi-stamps and to prove that imagintaion is really the only limitation when it comes to creating.


For my inspiration I looked at some of the posters for the film Terminator
  
    Once I got started on it - I ran wild ... it was so much FUN. I printed the digi a couple of times , googled leather look backgrounds, printed it off, grabbed some cooking foil and lots of sticky pads. Using the leather look paper I made a jacket with stand up collar, Cut separate wings, covered them with the same paper and used the pads to attach them to the body
  Using some cooking foil, I cut out the head, layered the very distinctive Besties eyes over it, Cut out the 'terminator' glasses and layered them over the face also.
 Then to keep it like the original  poster, again using google I  found a text that was similiar to that used on the posters,  printed it off . Put some thin red stripes behind the owl and softened the whole look with the addition of the black bow. That FAMOUS line (with a slight play on spellings!!! ) keeps the card open
   Hope you like my take on this- Just on a personal level, this will be my last post including the Besties Images, but a massive thank you to Gill and the original team for letting me be part of it and I wish the new guys lots of luck.I guess in this case Arnie wasn't correct as I wont be back  


Friday, 4 April 2014

Craft for the Craic ...Spring\ Easter Theme


This months theme was Spring or Easter. For me the first of the daffodils is a sign of longer days and sunnier climates ... well I can live in hope. And since i seem to torture and kill all attempts at growing them- I thought this might be the safer option. Using my tonic punch and stamp set, I created these- very little paper is actually required and its a fun way to use up scraps.

 
I punched out the individual petals, using the side of my pokey tool I added a bit of shape to them by putting a crease on one side, turned them over and creased the other side at slight angles.  The centres were punches, shaped and layered


For the stems and leaves - I had green and brown striped paper that I cut up, creased and glued into postion, using foam pads on the back of the flowers they were attached to the card
  
Thanks for dropping by and hope you get some inspiration from this  :)

Monday, 24 March 2014

My Besties UK Challenge & Blog Hop - For Mum

Today we have a new challenge and blog hop launching today at MY BESTIES UK and this time its in the theme of  FOR MUM.... or as we say around here 'For Mam'

This little cutie was my inspiration - I thought she'd look adorable peeping out through a bouquet of flowers. Coloured with watercolour pencils, a little glitter added to the tip of her wings for a bit of glamour


I mounted her on a coffee stirrer and put her in among a half dozen tulips contained in a watercan 
 Not sure where got the template  for the watering can as it was hidden among the files on the laptop. To make the tulips I found a very easy to follow tutorial on line and have added the link :    http://www.wikihow.com/Make-a-Full-Paper-Tulip

Each side of the watering can has a different added detail including layered up flowers that were made from a combination of punches and dies and no project would be complete without a bow and a butterfly


If you are hopping with us then please follow the hop links below to continue with the next project.
We have 
5 digis on offer as a prize so to be eligible you need to hop and comment on all the participants blogs. You will be sent 5 halloween related digis as your prize.


You can still take part in the challenge theme too and be eligible for the blog challenge candy too - we look forward to seeing your creations.
Challenge Prizes!
The Winner -  will receive 3 Besties digi stamps of your choice from the ones used on the previous challenge 
1st runner up -  will receive 2 Besties digi stamps of your choice from the ones used on the previous challenge 
2nd runner up  -  will receive 1 Bestie digi stamp of your choice from the ones used on the previous challenge 

Blog hop Line up:
Gill (DT co-ordinator) - http://creationsbygillm.blogspot.co.uk/
Donna - http://kraftyscot.blogspot.co.uk/
Jan - http://jaybescraftybitz.blogspot.co.uk
Anita - http://ab5474-8kidsandstillfindtimetocraft.blogspot.co.uk/

Carol - http://silverpaws1957.blogspot.co.uk
Pixie - http://pixieflutterbycreates.blogspot.co.uk/
Michelle - http://zmumzcreates.blogspot.co.uk/
Jenny - http://fizzymonkeycards.blogspot.co.uk/

Good luck if you are taking part in the Hop. Thanks for stopping by, and now I really think you should visit Michelles and Jenny blogs  - you know you want to

Monday, 10 March 2014

MY BESTIES UK CHALLENGE - FLOWER POWER

IMG213 - Swinging on a Star

 This months Bestie challenge  was flower power - I took IMG213 (Swinging on a Star) and I actually cropped out the star before I printed it.

 I took an A4 sheet of black card diecut it and embossed the righthand side of it, I then trimmed a yellow A4 sheet to use as an insert and die cut it also. My Bestie image was coloured using water colour pencils and trimmed to allow the image to appear as though swinging freely.

I took some co-ordinated yellow paper stamped and layered up the sun flower as the main flower image .
Finally I punched out the large butterfly and the tiny flowers, I inked the edges of each with various shades of browns and yellows and arranged them on the card

Friday, 7 March 2014

Craft for the Craic - Something Green


                                                                                                                                                                                   This months challenge was to create something green - I decided to create a matchbox book and yes I cheated, I used a large matchbox as my starting point, made a cover for it from stiff card which was then covered in a soft green patterned paper. For the sides of the 'book'  I searched online for some images of the side views of books. I then printed it off the image, trimmed it accordingly and glued it to the sides. I stamped and die cut the 'Wish' sentiment, die cut the tiny butterflies for pink tissue and finished it off with a green ribbon and tiny butterfly bead. Inside the cover the book has a 1st page


Insert of the book\ box opens- to reveal a wool doll book- mark. 

 Below are some photos that show how the doll was made ( Many of you may already know how but there maybe some who need a reminder). I started with a piece of card that was 4.5 inches long - this makes a doll thats approx. 4"   Wind the wool around the card as shown 
 Repeat until the 'doll' is about the correct width ( thats a personal decision)
 Slip the card out
 Wind the wool around the centre
  And tighten it
 Measure about 1/4 way down the shank and wind the wool around tightly - at this stage head and body have been created
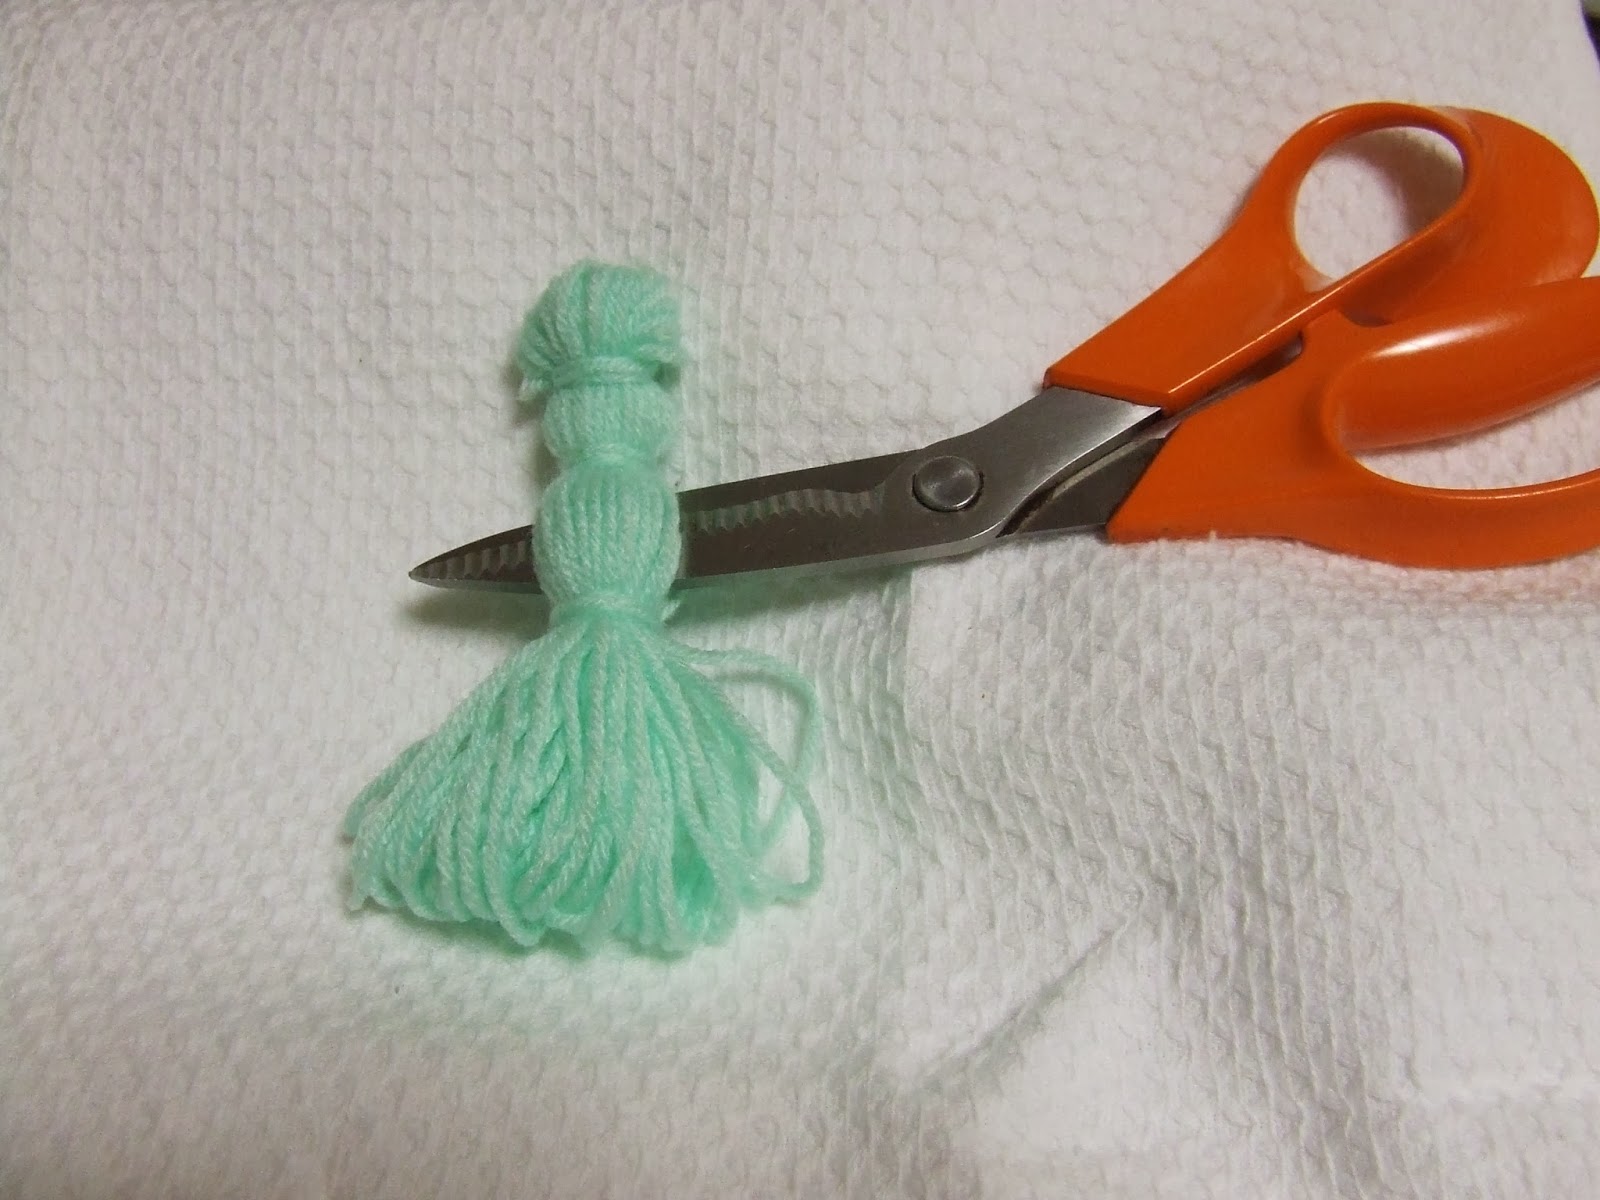
 I feed the scissors through the wool, pulled it to straighten it out and tidy it up
 This part can be a bit fiddley - wool needs to wound around the top of the head ( about half way down the head) this allows for the hair
 At this stage, take the piece of card, wind the wool around it,ensure its slightly less that the amount used for the body - this can be used to make the arms
 Again wind some wool arond the middle
 I used the point of the scissorsto make a gap in the body
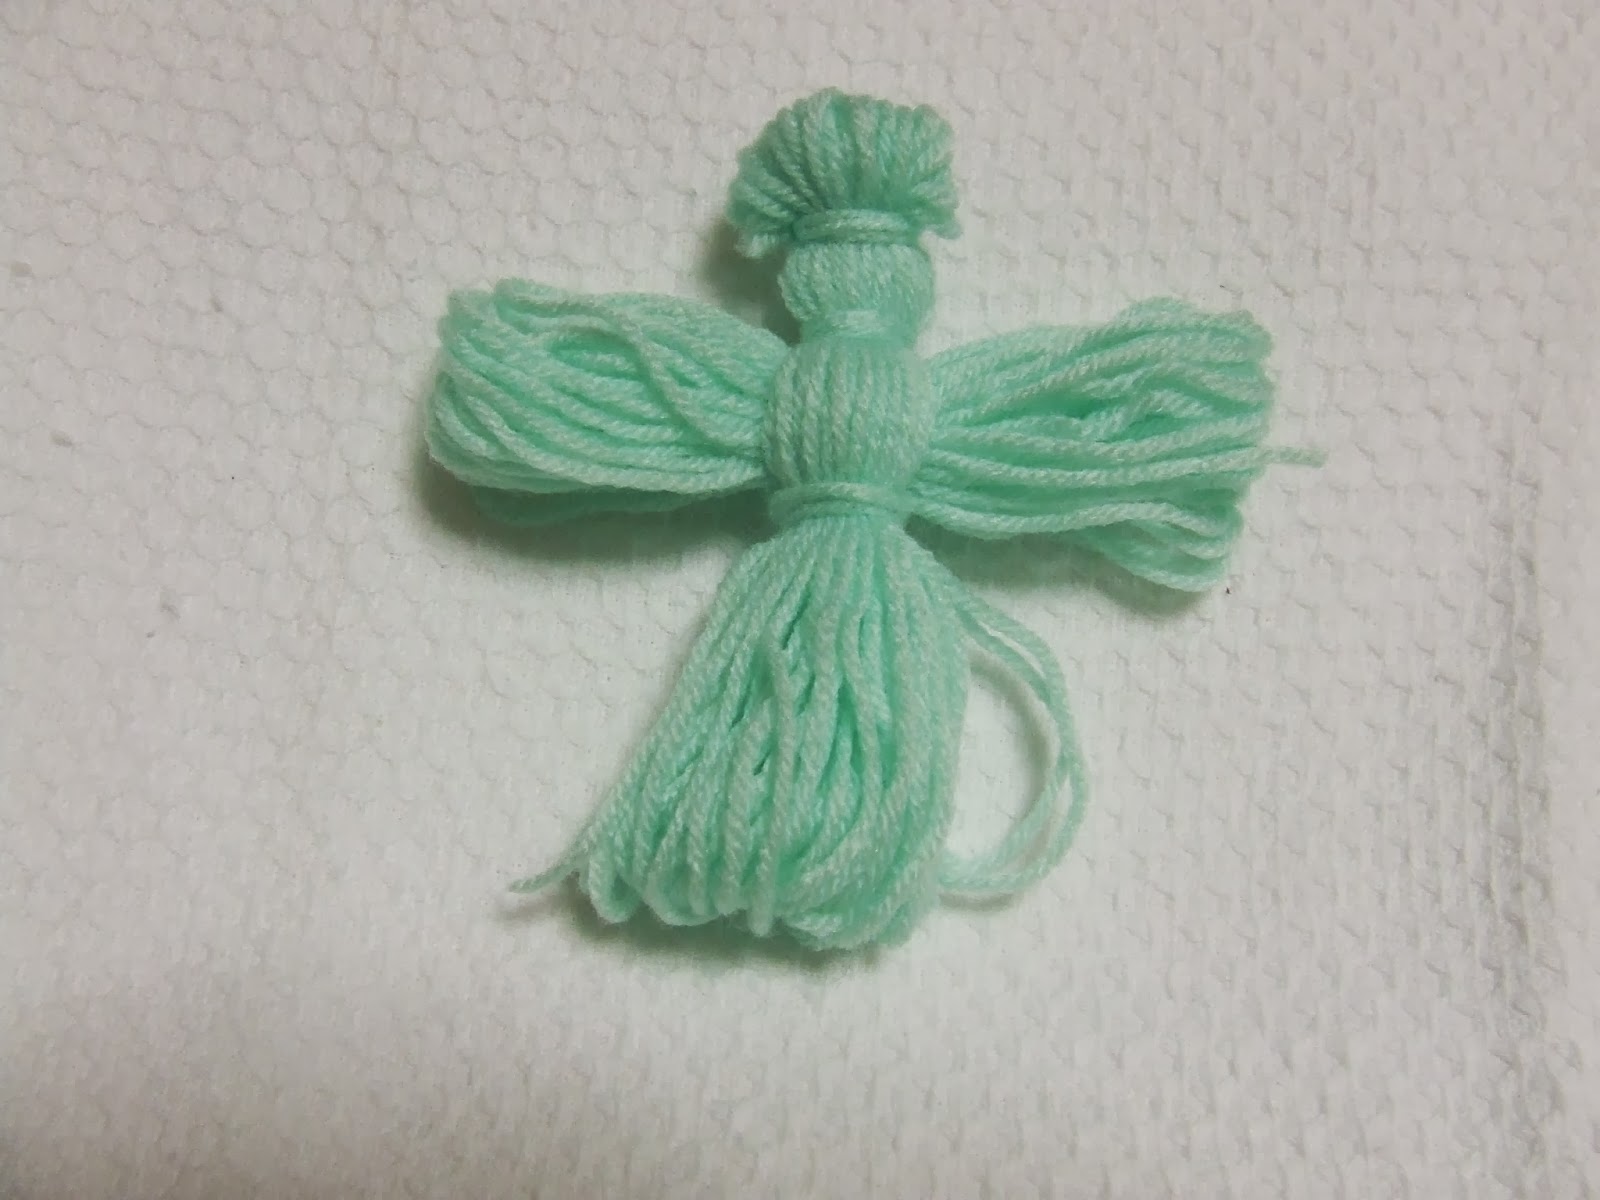
 Feed the arms through, as shown below
 Wind some wool around the end of each arm to create the hands, and  trim the ends so they no longer form loops but are free ended. This creates hair, hands and a skirt.
 If a girl doll is required leave as shown above and finish off by adding facial features, If a boy doll is required split the 'skirt' in two equal parts and wind the wool around each leg to create the feet
 For the boy doll I glued googley eyes and stitched a mouth, For the girl doll all the facial features were stitched. To finish off - I brushed the tufts, it fluffs them out and gives it a softer feel  
I think these a cute simple project to do with smaller members of the family- they can be made in various sizes, pop a pin on the back and use as a brooch, put a loop or chain out of them and attach them to bags or keyrings, Vary the colours and use them as team mascots. Just have fun with them  

Sunday, 23 February 2014

Craft for the Craic - Heart Challenge

Am very excited - this is my first post the IRISH blog Craft for the Craic
For those of you visiting from foreign shores - 'Craic' in Ireland means fun.
Now thats been explained, the challenge was 'HEARTS and here's what I came up with.


This little 'me to you' bear was die cut and layered up using foam pads. A piece of card stock was embossed, coloured with pan pastels and placed under the image to make it stand out. The card was then embellished with a trio of various sized pearls, a velvet ribbon and twinkley hearts.
The heart theme continued on the inside with the stickers. A second piece of cardstock was embossed, a heart shape die-cut out of it. Finally  for fun I added a wee angel charm that can be hung out of a mobile phone. To ensure that it all sits nicely, I put a pleat into the fold\spine - this allows for the card to close neatly over the bulk of the angel. Hope you like it   

Monday, 10 February 2014

You're Berry Sweet

The directive for this weeks Besties blog was 'You're Berry Sweet'. well naturally we all know that I am :)
There are some really gorgeous Berry themed stamps and I couldn't decide which one to pick - so I choose two of them
Digi img097 2 and Digi IMG662. I thought I'd like to do something other than a card and this weeks theme was perfect for my project. A personalised travel mug. My thought process was Berries -> Juice-> Mug   
I used a pink marble effect backing paper, coloured my besties with water colour pencils. Printed out the words 'You're Berry Special', die cut them and used pan pastels around the edge to high-light them. I glued them all into place and allowed them to dry.  


Nothing too special in that I hear you cry.... Well once i had that done the fun began. I had recently purchased a travel mug in my local Swedish home furnishing store - this one is a little different as it purpose built to customise\ personalise it with a picture or photos etc.. ( i'll pop up a link to it at the end of the blog - if you'd like to see the mug in its natural state).
When it was dried properly - I then curled the card and slotted it into the mug, put the base back in place and finished it off with a co-ordinated ribbon.
   
The link for the mug  as promised  :http://www.ikea.com/us/en/catalog/products/90208133/