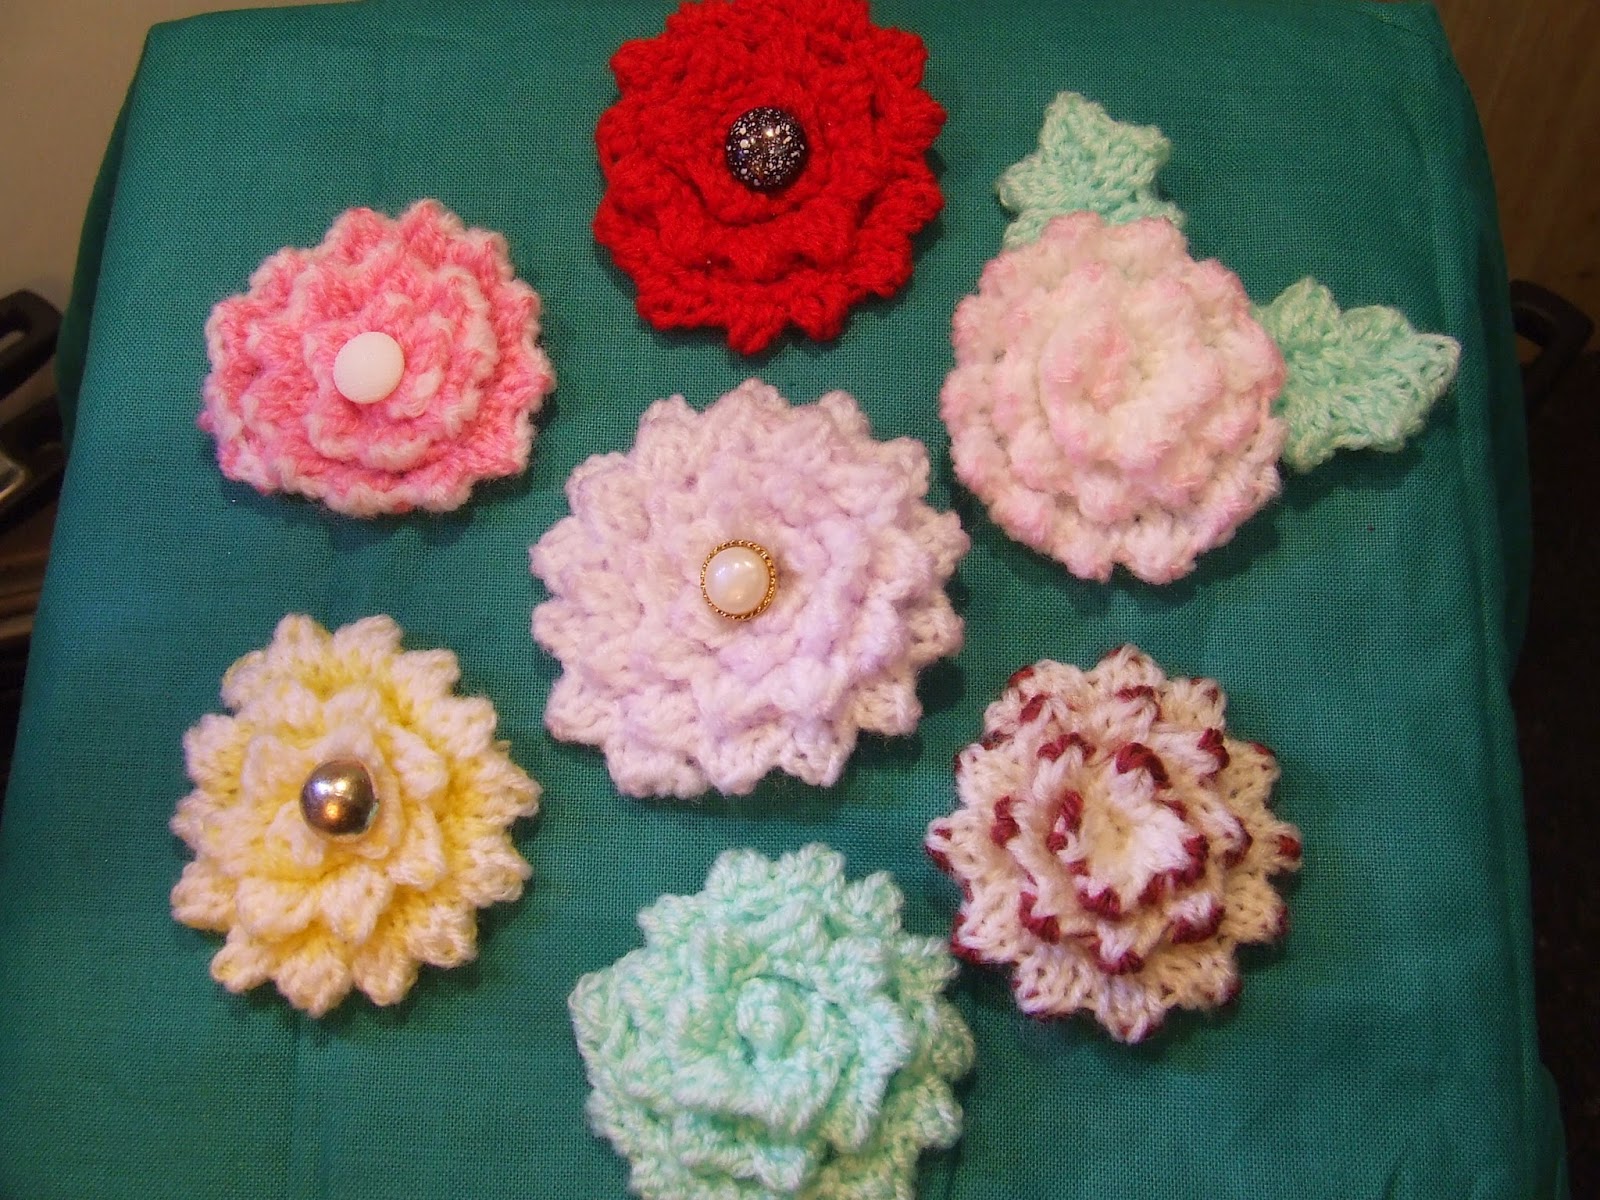
This months post was to include circles... So I decided I wouldn't use paper on this occasion and i'd involve other family members.. so Mammy Flutterby came up with the pattern for this
I started by casting on 40 stitches. Knit one row, Purl one row. On the next row- knit one stitch, wrap the wool around the needle and knit 2 stitches together (If you want different coloured points on your flower - this is the row to change colour on). Purl one row, Knit one more row and cast off. You end up with something like this
Bend it over so the cast on and cast off rows are touching and sew them together
When the sides are sown together - a natural curve develops
Use this curve to stitch it as shown below
Thats the basic pattern.
Obviously by increasing the number of stitches and\or rows the flower size will also increase.
In the picture below the same basic pattern was used to create the leaves- but when sewn together rather than follow the natural curve, the two ends were stitched together and sewn in a straight line to create the spine of the leaf.
Once the basic pattern is used - have fun add buttons in the centre, put a pin in the back and use it as a broach or scarf holder, Attach the to a hair band or bobbin or just put them on a chain or ribbon and hang them from a bag
I did say that the family were involved in this blog post. I can take absolutely no credit for the next part but I thought you might like to see them as they fit perfectly with the circle theme. This gorgeous selection of 'cakes and biscuits' came all the way from Australia - a huge thank you goes to 'Auntie Flutterby'
The pattern can be found on the following link
Thanks for dropping by .. Now anyone for a cuppa and a treat ?


