

This months challenge was to create something green - I decided to create a matchbox book and yes I cheated, I used a large matchbox as my starting point, made a cover for it from stiff card which was then covered in a soft green patterned paper. For the sides of the 'book' I searched online for some images of the side views of books. I then printed it off the image, trimmed it accordingly and glued it to the sides. I stamped and die cut the 'Wish' sentiment, die cut the tiny butterflies for pink tissue and finished it off with a green ribbon and tiny butterfly bead. Inside the cover the book has a 1st page

 Insert of the book\ box opens- to reveal a wool doll book- mark.
Below are some photos that show how the doll was made ( Many of you may already know how but there maybe some who need a reminder). I started with a piece of card that was 4.5 inches long - this makes a doll thats approx. 4" Wind the wool around the card as shown

Repeat until the 'doll' is about the correct width ( thats a personal decision)

Slip the card out

Wind the wool around the centre

And tighten it

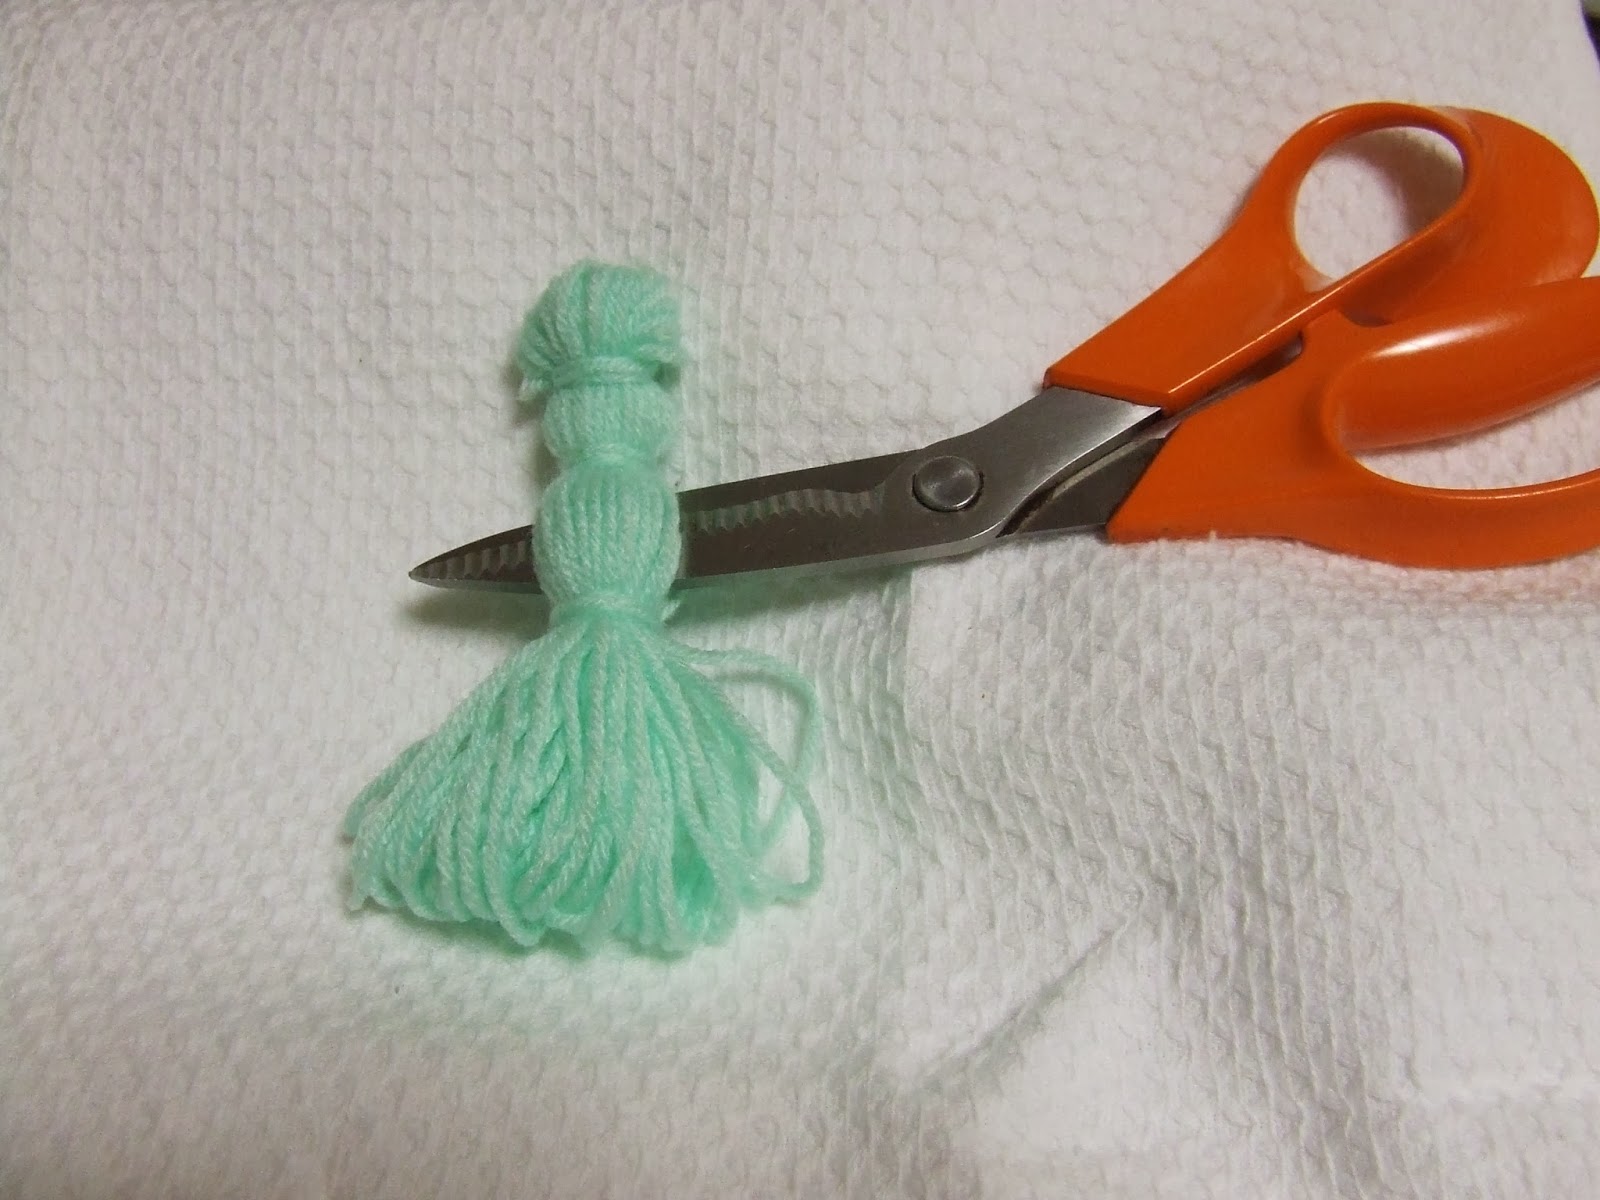
Measure about 1/4 way down the shank and wind the wool around tightly - at this stage head and body have been created

I feed the scissors through the wool, pulled it to straighten it out and tidy it up

This part can be a bit fiddley - wool needs to wound around the top of the head ( about half way down the head) this allows for the hair

At this stage, take the piece of card, wind the wool around it,ensure its slightly less that the amount used for the body - this can be used to make the arms

Again wind some wool arond the middle

I used the point of the scissorsto make a gap in the body
Feed the arms through, as shown below
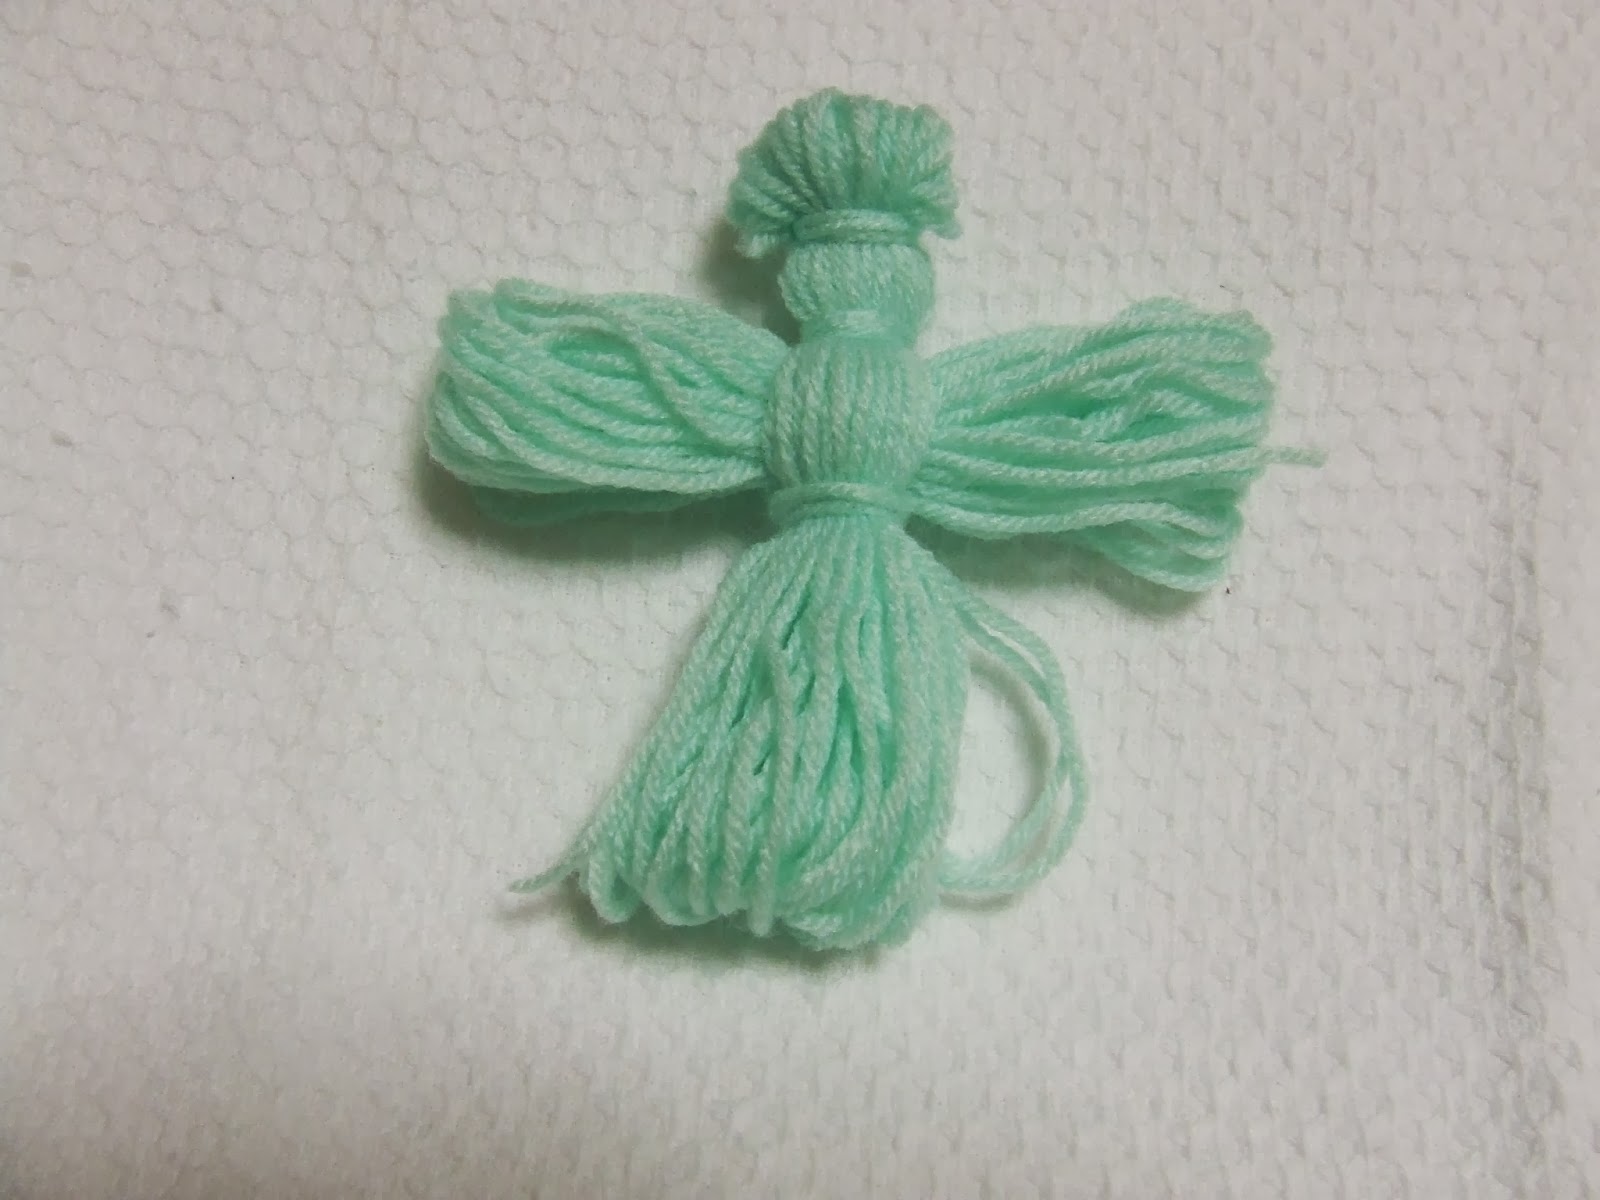
Wind some wool around the end of each arm to create the hands, and trim the ends so they no longer form loops but are free ended. This creates hair, hands and a skirt.

If a girl doll is required leave as shown above and finish off by adding facial features, If a boy doll is required split the 'skirt' in two equal parts and wind the wool around each leg to create the feet

For the boy doll I glued googley eyes and stitched a mouth, For the girl doll all the facial features were stitched. To finish off - I brushed the tufts, it fluffs them out and gives it a softer feel

I think these a cute simple project to do with smaller members of the family- they can be made in various sizes, pop a pin on the back and use as a brooch, put a loop or chain out of them and attach them to bags or keyrings, Vary the colours and use them as team mascots. Just have fun with them
Hey Pixie, beautiful Great idea with the matchbox and I love your dolls. I am going to make some this weekend with my little girls, as I know they will love them :) thanks for the tutorial and inspiration :) Delighted to have you on the design team :)
ReplyDeleteEithne
Craft for the Craic
the littel box is so cute and beautifully done and thanks for the tut for the doll, I know a little girl who's going to love one! Ger x
ReplyDeletelovely idea, I have not seen this before and must give it a try, Sylvie, Craft for the Craic DT
ReplyDeleteGreat project and I LOVE the doll :-) Brings back memories!! I remember making these when I was younger!! Think We called them corn dolls! :-) xx
ReplyDeleteLovely project. Thank you for sharing at SDD Challenge.
ReplyDeleteA lovely wee project
ReplyDeleteThanks for popping over to SDD and joining in the fun
Good luck
Hugs
Jo (dt) xxx
Great tut Thank you for sharing. I am now a follower. Hugs Wynn xx
ReplyDeleteYou're very welcome and delighted to have here :)
DeleteI haven't seen these in yonks! Thank you for the step by step tutorial. Fab!! :0)
ReplyDelete