Saturday, 16 August 2014

Craft for the Craic - An Item you've never used before....

Good Morning :)  An easy challenge I thought to myself ... Ohhhhh how foolish I am. I took a look in my
craft area and staring back at me were a whole lot of 'items' I'd never used (hanging my head in shame now). There are so many choices and just so little time - New beads, material, wool, stamps, inks, digis, dies, stencils, I could go on..... and  thats not including the 100s of ideas, techniques and folds  in my head that will never find their way onto paper. With my brain a mass of confusion and bewilderment - I set out to the task in hand and this is what I came up ...

Its a butterfly themed card and co-ordinating Happiness Kit gift box.


So the card was made using a stencil and and some glitter frosting paste. ( Both were items that i hadn't used before). The glitter paste was easier to use than i had anticipated - I'm pretty sure there are U tube clips and technical documents out there explaining how to apply it .... The easiest way for me to explain it - I applied it in the same way that i would butter a slice of toast!!!!! Using a palate knife I started at the top of the stencil and using the pink paste - spread it across the stencil. I swapped over to the purple paste and finished off covering the stencil. Its far from perfect  but the medium is quite forgiving - I helped the drying process by using a heat gun on the back of the card. I stuck some clear gems in the centre of the flowers to finish it off 


Then I tackled the Happiness Kit - I really cant take credit for this idea as something similiar was sent to me many years ago, but I have adapted it for here.  I loved it and its a very simple thing to do. The Box was made from very stiff card. I stamped and die cut the butterfly. Added the flower embellishments ( Again all new items  that were on their maiden voyage). I typed up the 'Happiness Kit' tag on the PC, co-ordinated the colours to match the project, printed it, cut it out  and stuck it on with a glue stick.

Inside the box is a strange little collection of things

  But the explanation for each item has been typed up and stuck on the inside of the box. Its a lovely way of saying I thought of you, If someone is  having a tough time it might just make them smile a little 
    
I hope you like this project and now I dont have to feel so guilty about  the unloved and un-used craft items as I've incorporated quite a few into this blog

Thanks for popping by and hope to see back again soon

Time 4 Scrap - Autumn Colours


Ok so this is a n new adventure for me, Its my first post for the Time 4 Scrap blog team. The suggested theme was Autumn Colours and I was lucky enough to have this gorgeous digi to work with


 Shes called Berrylicious and is created by artbymiran,  available in two variations with and without the grapes\berries. As the theme here was Autumn- I coloured the berries in various shades of browns and oranges - I attempted to make them look more like acorns
  

The leaves were fun to do
 ....and i'm not suggesting that you do this but let me say that the starting materials or 'papers'  for the leaves were found  in my local hardware shop in the paint sample cards section.... but shhhhhhh dont tell. 
I used my leave shaped die and cut out some samples. They still appeared slightly flat ... so using my hougie board- I added some veins to them and then shaped them using a bone folder. Finally to give them a more authentic look I inked the edges of them and across some of the veins

Using a combination of glue, sticky pads and padded double sided sticky tape ( the sort that comes on a role,) I attached the leaves to the front of the card  at various angles and heights. Finally I threaded some leaves together and hung them from the card - this was to appear as though the leaves were falling  


Friday, 1 August 2014

Sisters of Craft- Anything Goes Challenge-August Challenge

This months sponsors are Scrappers Delight


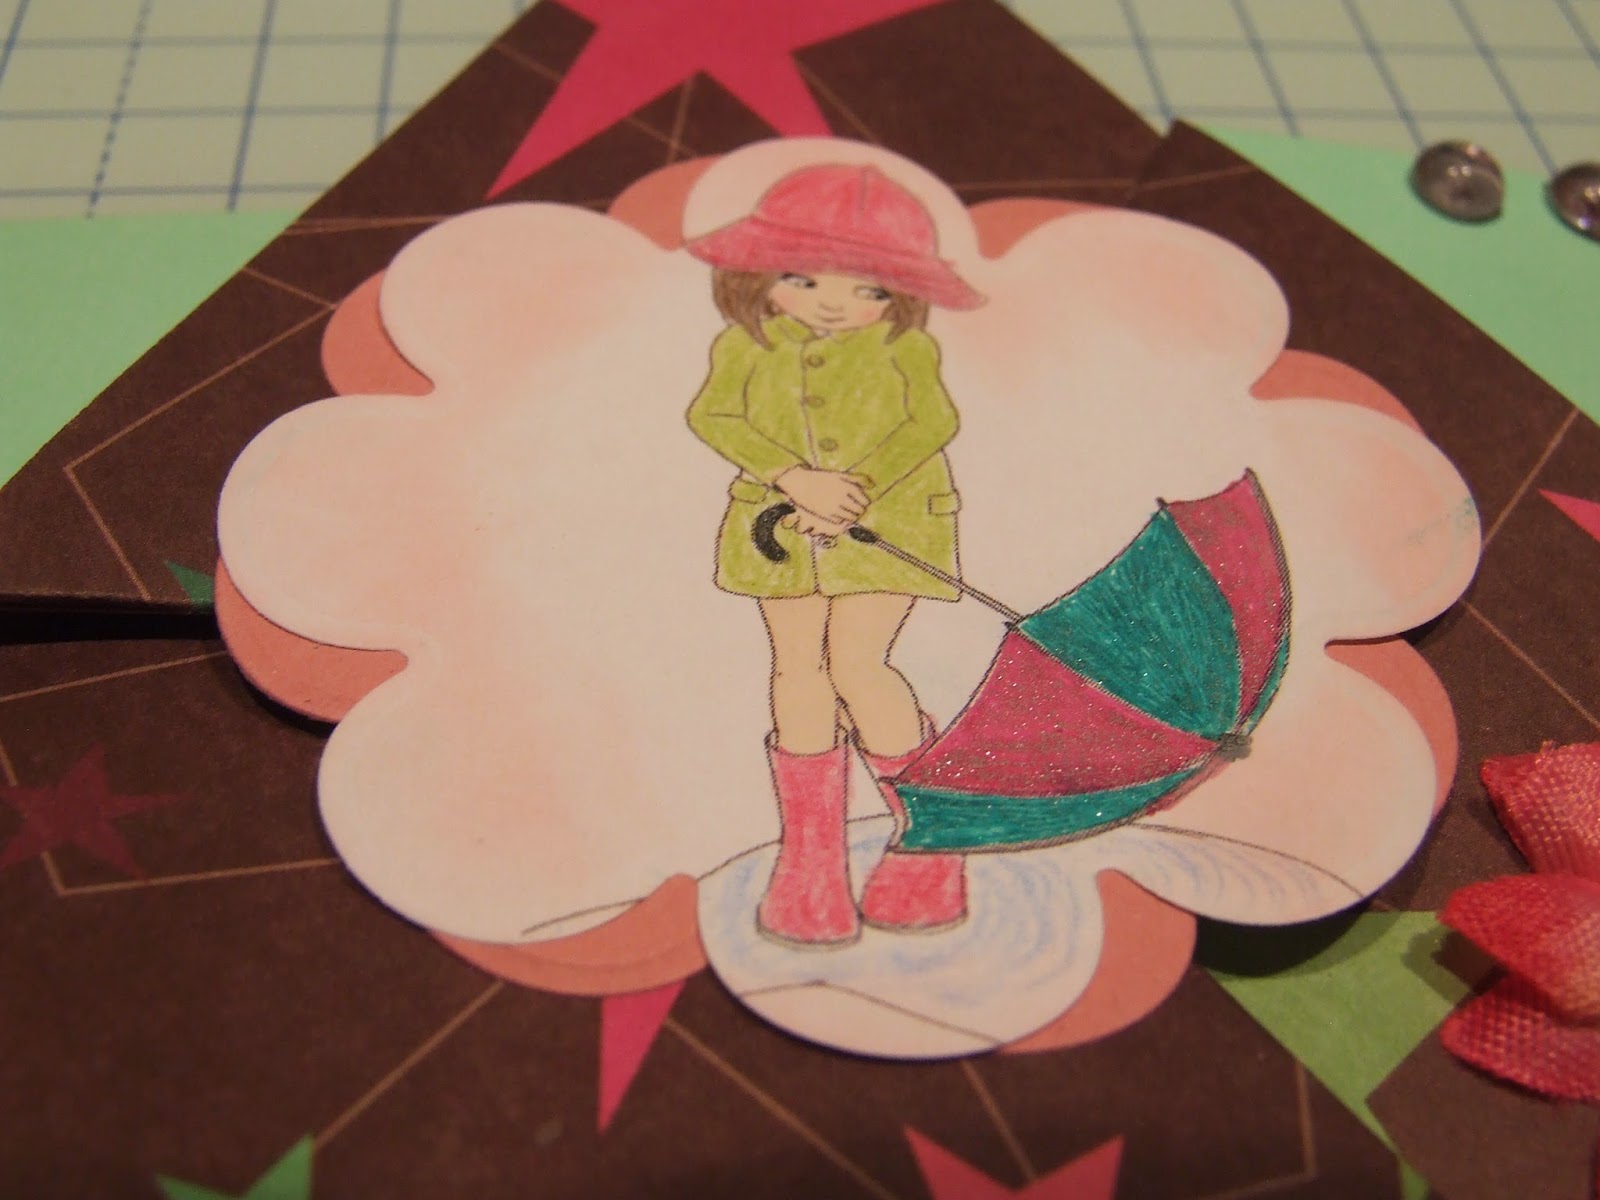
I chose the rainy day digi - I liked the simplicity of it

I made a triangle star card  and used much bolder colours than i would usually use- chocolate, green and vibrant pink. The digi has been coloured using water colour pencils, glitter pens and the edge was high-lighted using pan pastels. Clear gems were added to the points on the triangle - I put a layer of the chocolate paper under the gems to cordinate. Using a brad that I attached a gem to - I added the flower.

I love the drama of this when its opened out
Thanks for dropping by and hope you like todays post

Tuesday, 15 July 2014

Craft for the Craic- July Challenge - Favourite colour


Now this challenge should have been easy and yet I struggled with it ... why ??? I couldn't decide what my was my favourite colour..eventually I settled on a purple theme and here it is


I started by stamping the background, the card itself is white but a hammered finish to it. The ink I used is Brilliance archival pigment pad that has a trio of colours in it - pink, blue and purple and when stamped, theres a lovely sheen on it. The stamp is a hero arts one - of dandelion 'clocks' . The main image looks a bit more complicated than it is - below are step by step instructions on how to create it.

I used some double sided paper- plain on one side, patterned on the other. I cut 8 circles approx 2 inches

I placed the pattern side up. 

 Folded it in half - so the plain side was facing towards me.

 Folded it in half again (so now its in quarters) 

 Taking the curved edge, fold it back as shown above- turn it over and do the same on the other side

 Open the circle out- it should look like a semi-circle on one half and  have a point on the other

 I folded in it in half as shown above - that was really just to create a score mark that i would use for the next fold

This bit is the fiddley piece - but  fold as shown above

Do the same on the other side - Repeat for all 8 circles 

To put it all together - I cut a 2 inch circle from plain white card, with a pencil I drew 8 equal slices on it 
 ( so it looked like a pizza ). I then stuck each of the petals onto the 'slices'. To finish it off I popped a pearl  in the centre and  co-ordinated it with 3 pearls on the left side of the card 


For fun I  made a second flower, using the same folds - but i reversed the paper, so for the first petal - I laid the paper down with the plain side facing me, when folded in half - the  pattern was on view  

To finish it off - i didn't flatten down the folds quite so hard
- below shows the two flowers side by side, both look quite different 

 Thanks for stopping by and hope the post inspires you to try it and have some fun paper folding
 

Tuesday, 1 July 2014

SISTERS OF CRAFT - JULY ANYTHING GOES CHALLENGE


Our July Anything Goes challenge is now underway and 
our sponsor for this challenge is

Aurora Wings


You know how sometimes you look at 'something' and you think - I know exactly what I want to do with that. Well thats how I felt about this gorgeous Whimsical Fuchsia Sprite. I just couldn't wait to get started

I printed the image and started colouring it with pencils, pan pastels, promakers and my water colour markers. Having coloured it half in - I thought it would be just perfect for layering up. I coloured each layer and shaped it before adding  

Then using my Tonic Punch and Stamp Set - I created  my fuschia flowers in papers that matched with the tones used in the sprite.


Once all the elements had been collected and prepared : Image, flowers, swirls, background and frame- it was just a case of positioning them and sticking them down ( I used both glue and double sided tape).
When it had dried and I was sure they were competely secure - I placed them into the frame 


I dont often enter blog challenges but this month have entered it into :

Wednesday, 18 June 2014

Craft for the Craic Something Summery or with Flowers


Hello there!!! What glorious weather to have a 'Summery\flowery' themed challenge and thats exactly whats going on at Craft for the Craic this month.

I decided to keep it relatively simple this time - however there are lots of little details if you look long enough

Using a stamp that I got as a freebie last year with one of the magazines as my starting point, I coloured it with my water colour pens and shaded the back ground with pan pastels. I matched it up with a butterfly background paper and layered it over plain white card that I used a border punch on.
 For added detail - I punched the butterfly twice and layered it up. Then made a double bow made from 2 ribbons satin and organza and attached a gorgeous dragon fly charm. For the finishing touches I used 3 clear beads, punched tiny circles from dark pink paper and placed them under the beads to pull the colour scheme all together. 

That takes care of the summery feel  but what about the flowers - i hear you cry :) 

 and voila 

A surprise bouquet on the inside   

Sunday, 1 June 2014

Sisters of Craft 'Anything Goes' - Sponsored by Lacy Sunshine

For my Sisters of Craft Challenge - I'm thrilled today to be able to blog using one of the fantastic images from Lacy Sunshine

There were so many to choose from but I finally settled on Bubbles Sun Shiny Day 

Having made that decision - the rest was easy. I printed the image, coloured it using my water colour pencils. Using some white card, that i'd covered with deep blue paper- I made what could be best described as a box with a long top on it. Using my die cut machine, I removed a scalloped circular shape.


I added a butterfly, two adorable toadstools which fitted perfectly with the digi and finally some die cut grass 


 I now have a practical but cute phone holder that keeps the cable tidy while the phone is being charged, and best of all  no more accidents because the phone was 'sitting' on the floor.

I'd like to thank Heather for allowing me to use her images for this fun project. I'm delighted that you took the time to drop by and hope you get some ideas from this :)